


Look, if you’ve got a modern PC with all the bells and whistles, the fancy lights, the programmable keys, the whole shebang—you’ve probably run into iCUE.
Essentially, it’s the software that ties all those bits and pieces together, letting you control them from one place. Now, it didn’t just pop up overnight.
Back in the day, companies like Corsair had separate programs for each device. But, as things got more complex, they realized folks needed something that could handle everything.
So, they rolled all those separate bits into iCUE, making it the central hub for customizing your PC’s gear.
It’s grown a ton since then, adding more features and supporting more devices, and it’s become a pretty key part of how many people set up their rigs.
You know, that software that’s either your best friend or… well, a bit of a headache, depending on how you look at it.
So, What’s iCUE Anyway?
Basically, iCUE is the control center for a bunch of your PC’s gear, especially if you’re running Corsair stuff. Think keyboards, mice, fans, memory, even power supplies.
It lets you tweak everything from the flashy RGB lights to how fast your fans spin. It’s supposed to bring everything under one roof, so you’re not juggling a bunch of different programs.
The Latest version: What’s New?
They’re always tinkering with iCUE, and the latest versions usually focus on a few key things. First, they try to add support for new devices, so if you’ve got the latest Corsair gadget, it’ll probably work with iCUE.
Second, they often tweak the interface, trying to make it a bit less clunky. And third, they’re always trying to squash bugs and improve performance.
Recently, there’s been a push for better integration with other smart home devices, which is interesting if you’re into that kind of thing. Look for improvements to the lighting effects, and more user friendly ways to get those effects going.
Profiles and Customization

One of iCUE’s standout features is its profile system, which allows you to create and save custom settings for different tasks or games.
For example, you can set up a profile for work with subtle lighting and quiet fan speeds, and another for gaming with vibrant RGB effects and maximum performance.
These profiles can be switched automatically based on the app you’re using, making iCUE incredibly convenient for multitaskers.
Key Features and Highlights
- Lights, Lights, Lights: Controls all your PC’s RGB lighting.
- Gear Control: Manages keyboards, mice, fans, and more.
- Custom Profiles: Saves settings for different games or tasks.
- Fan Speed Adjustments: Keeps your PC cool.
- Performance Monitoring: Tracks your PC’s vitals.
- Key Remapping: Changes what your keys do.
- Macro Recording: Records complex key sequences.
- Device Syncing: Makes all your Corsair gear work together.
- Alerts and Notifications: Keeps you in the loop.
- Smart Home Integration: Connects with other smart devices.
How to Download & Install
Alright, let’s walk through getting iCUE on and off your Windows PC, real simple like:
System Requirements
To run iCUE smoothly on your Windows PC, make sure your system meets these requirements:
- Operating System: Windows 10 or Windows 11 (64-bit versions only).
- Processor: Intel or AMD processor with at least 2.4 GHz speed.
- RAM: Minimum 4 GB, though 8 GB or more is recommended for better performance.
- Storage: At least 450 MB of free space for installation.
- USB Port: A free USB port for connecting Corsair devices.
- Internet Connection: Required for downloading the software and receiving updates.
These requirements ensure that iCUE runs efficiently, allowing you to customize and control your Corsair devices without any hiccups.
If your system meets these specs, you’re ready to dive into the world of iCUE!
Getting iCUE (Download & Install): 7 Simple Steps
1. Download the latest version of the software by clicking the above Green Download Button, at the top of this page.

2. Double-click the downloaded installer file to begin the installation process.
3. If prompted by Windows, click Yes to allow the installer to make changes to your device.
4. Choose your desired language

5. Click Next
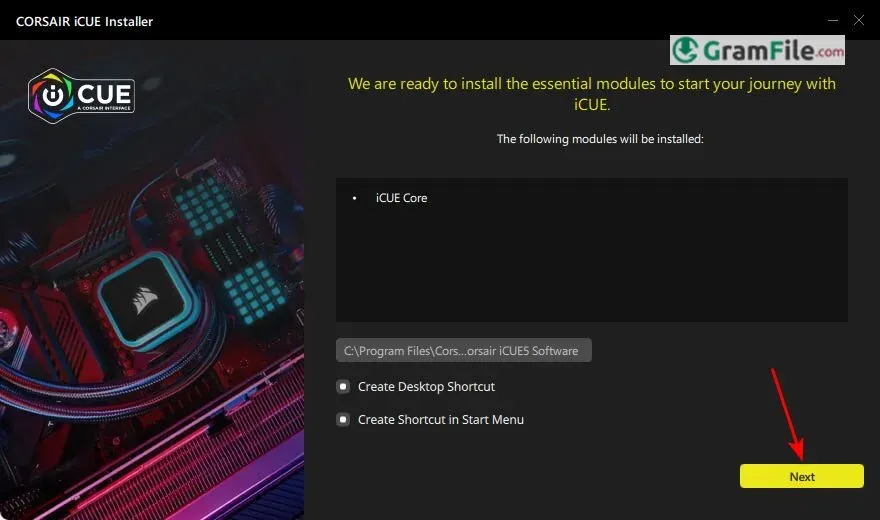
6. Wait for the installer While configuring the setup.
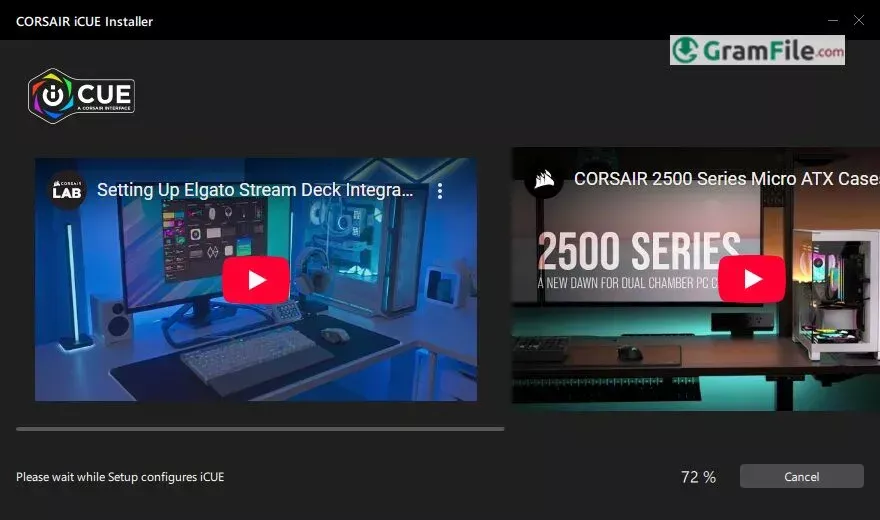
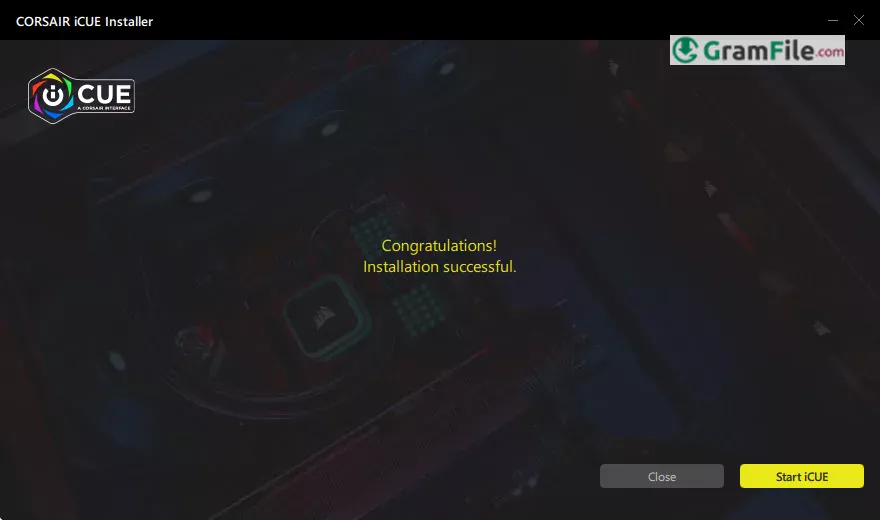
7. Finally, Click Start iCUE to finish the installation and to launch iCUE.
Getting Rid of iCUE (Uninstall)
1. Open Settings: Click the Windows “Start” button (the little Windows logo at the bottom left), then click the gear icon that looks like “Settings.”
2. Go to Apps: In the Settings window, click on “Apps”, then “Installed Apps.”
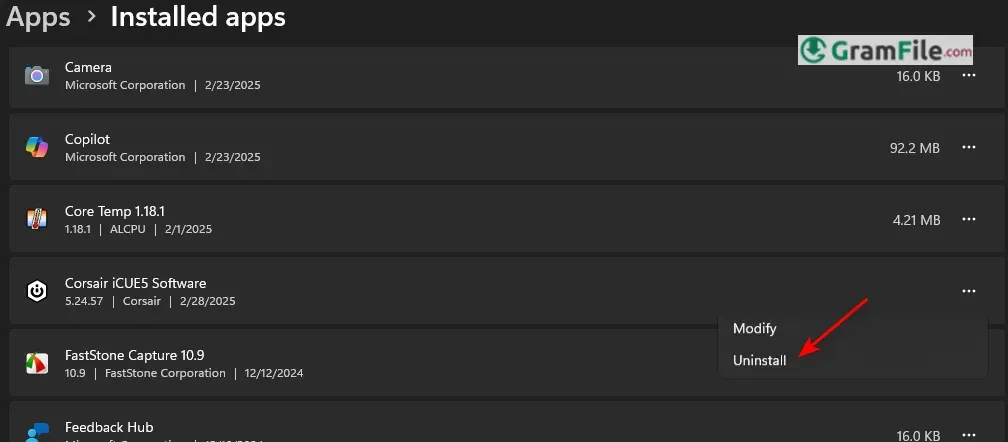
3. Find iCUE: You’ll see a list of all the apps on your computer. Scroll down until you find “Corsair iCUEx Software”, Where x is the installed version number.
4. Uninstall It: Click on “Corsair iCUE,” and then click the “Uninstall” button that pops up.
5. Confirm and Follow: Windows will ask you if you’re sure.
Click “Uninstall” again, and then follow any instructions that the uninstaller gives you. It might ask you to confirm a few things.
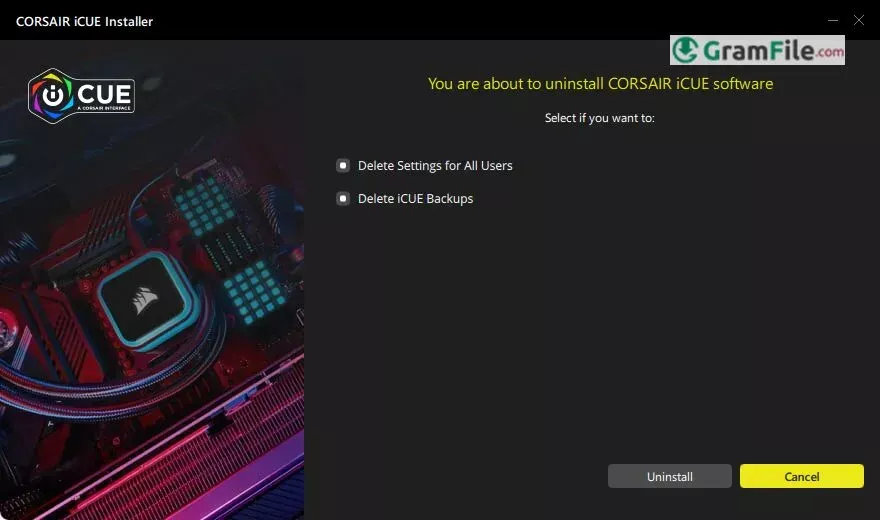
6. Restart (Maybe): Once it’s done, it’s a good idea to restart your computer, just to make sure everything’s cleaned up properly.
That’s it! Whether you’re setting up iCUE for the first time or removing it, these steps will guide you through the process smoothly.


